
Installing KDE neon
- Start the laptop from a bootable USB flash drive
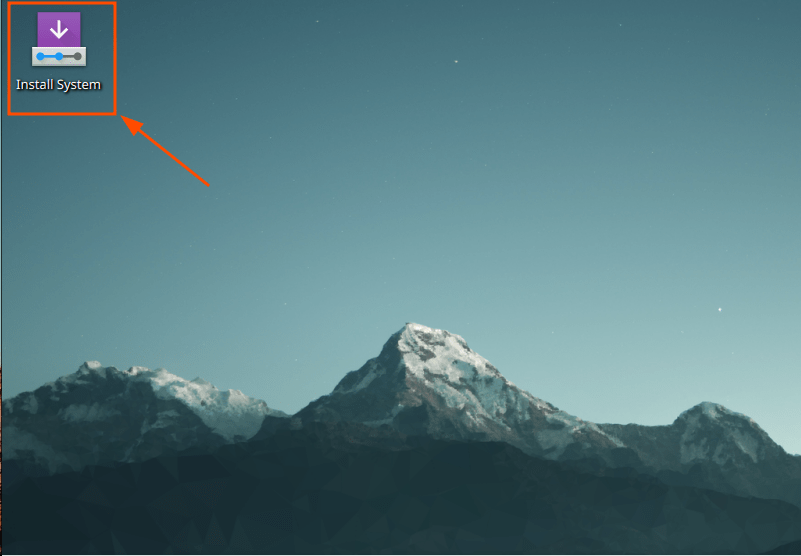
- After loading on the desktop, click on ‘Install System’
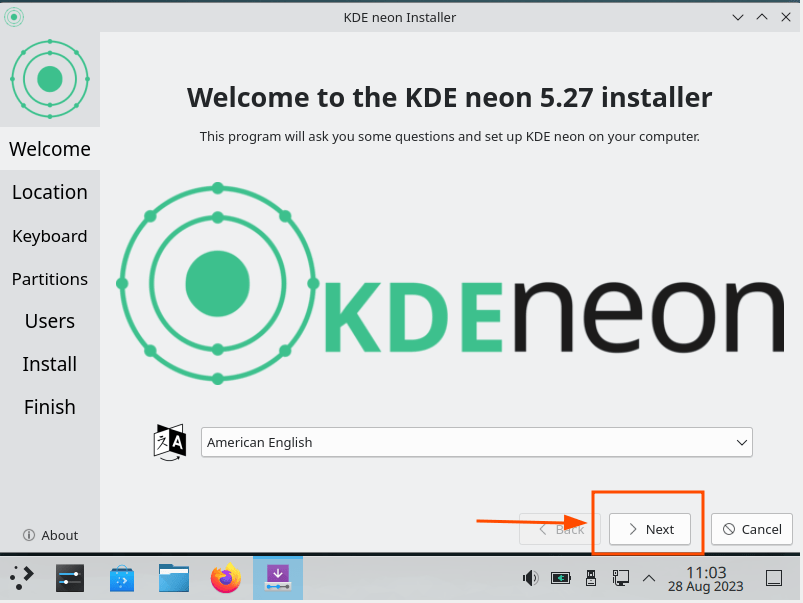
- Next click ‘Next’
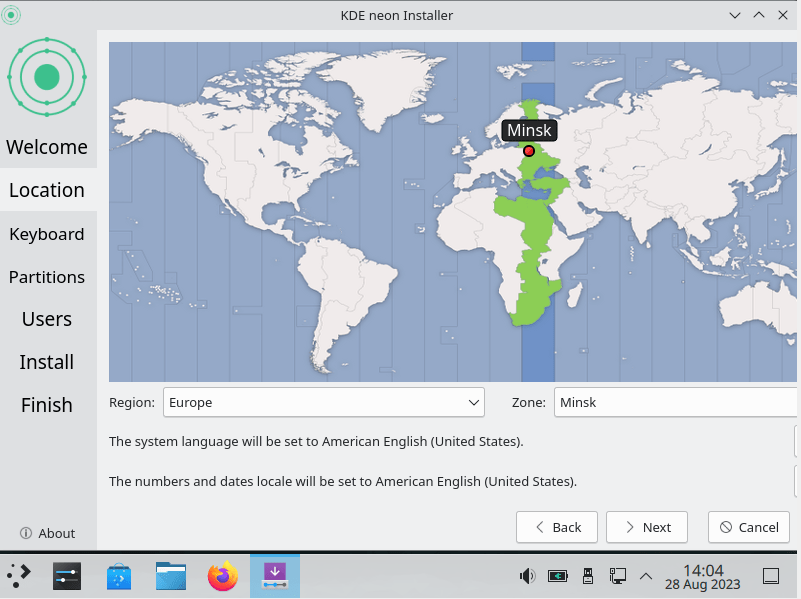
- Select region
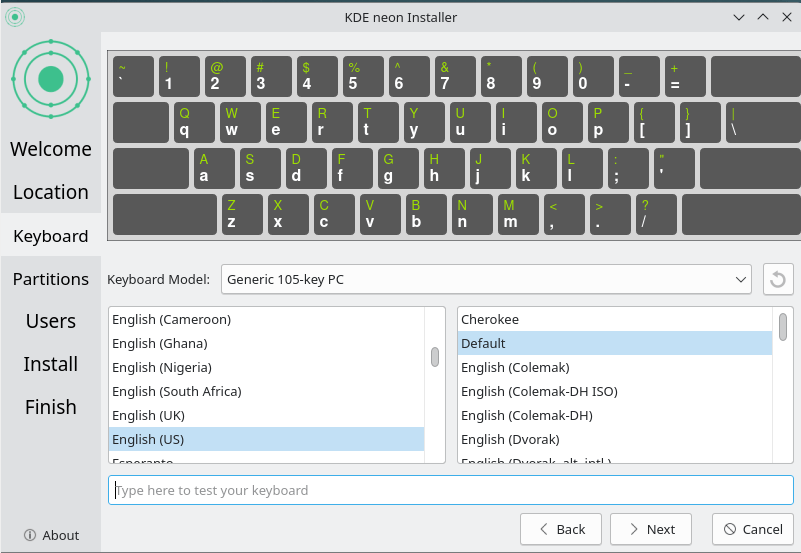
- Select keyboard settings
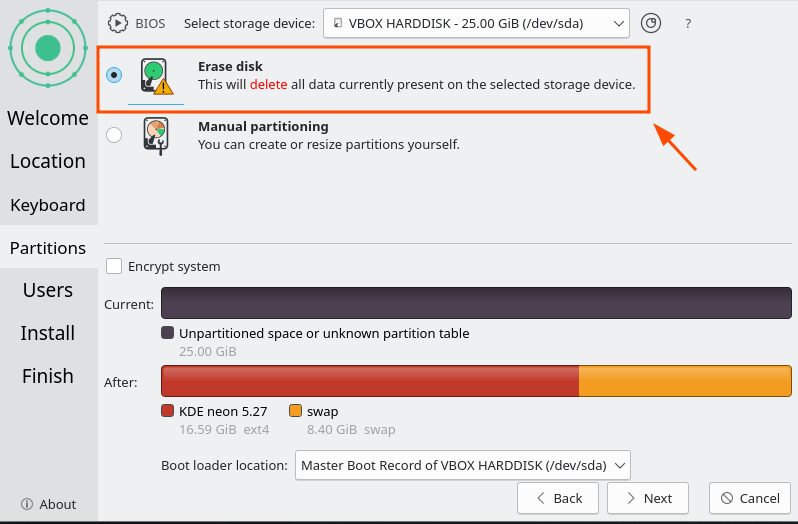
- Select ‘Erase disk’ in disk layout
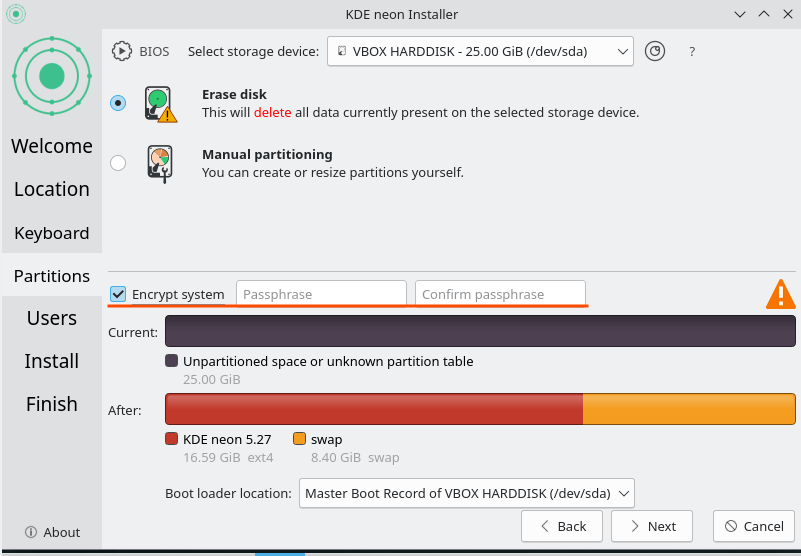
* Optionally select ‘Encrypt system’ to encrypt the disk, the installer will prompt you to enter a password
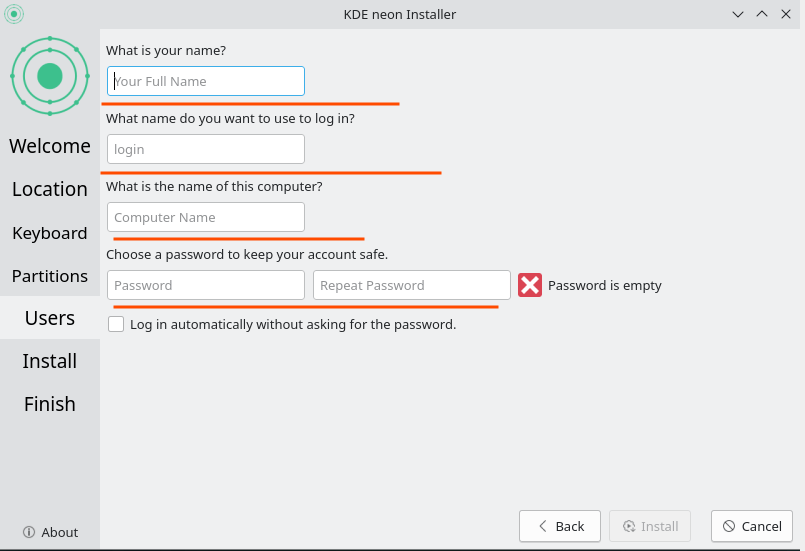
- Fill in the fields with the required data and click on the ‘Install’ button
- After installing the OS, the installer will prompt you to reboot the system. Reboot
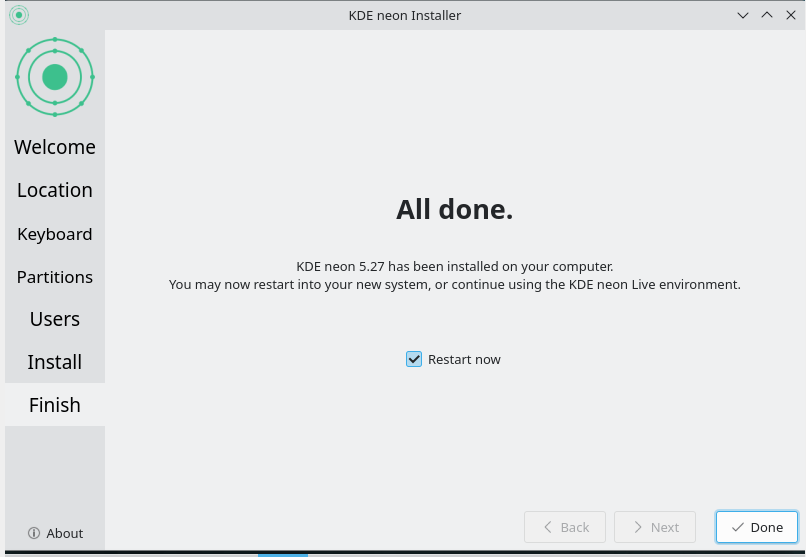
- After reboot the system will be ready for use
CONCLUSION
Installing KDE neon is a great way to get acquainted with one of the most modern and beautiful Linux desktop environments. Thanks to the simple and clear installation process, you can quickly customize the system to your needs and start enjoying all the advantages of KDE Plasma. This distribution is perfect for both experienced Linux users and newcomers who want to explore the world of open-source software. Don't forget to regularly update the system and keep an eye on new versions of KDE neon to always have access to the latest features and improvements.
However, it should be noted that using KDE neon may require the implementation of new features and adaptation to modern requirements. After a year of use, we came to the conclusion that returning to the use of Ubuntu was more suitable for our tasks.
Also read:
